@vlad123
Ok great, thanks for confirming:
I have made the bellow just for your purpose, I haven’t done any actually development so just some dummy values, etc… the payload won’t match exactly what I have shown. This is going to be a process so bear with me.
So first, you need to define your Custom Field with type Dynamic Mapping to define your entity structure.
Next, create your Custom Trigger. This is the endpoint that is going to be called when the entity is created or updated. It is up to your logic if you want to use 1 or 2 triggers for this.
The key here is the output fields as this is what is passed to your action. You can include input fields if you need context for your entity, maybe the board_id that the integration is installed on or something. For our use case, we recieve the payload on our server from the entity, process it and then manually call the custom trigger once we have formatted it in the required format. When you call the Custom Trigger subscription URL, you will need to pass through the CustomEntity values as defined by your DynamicFields mapping definition
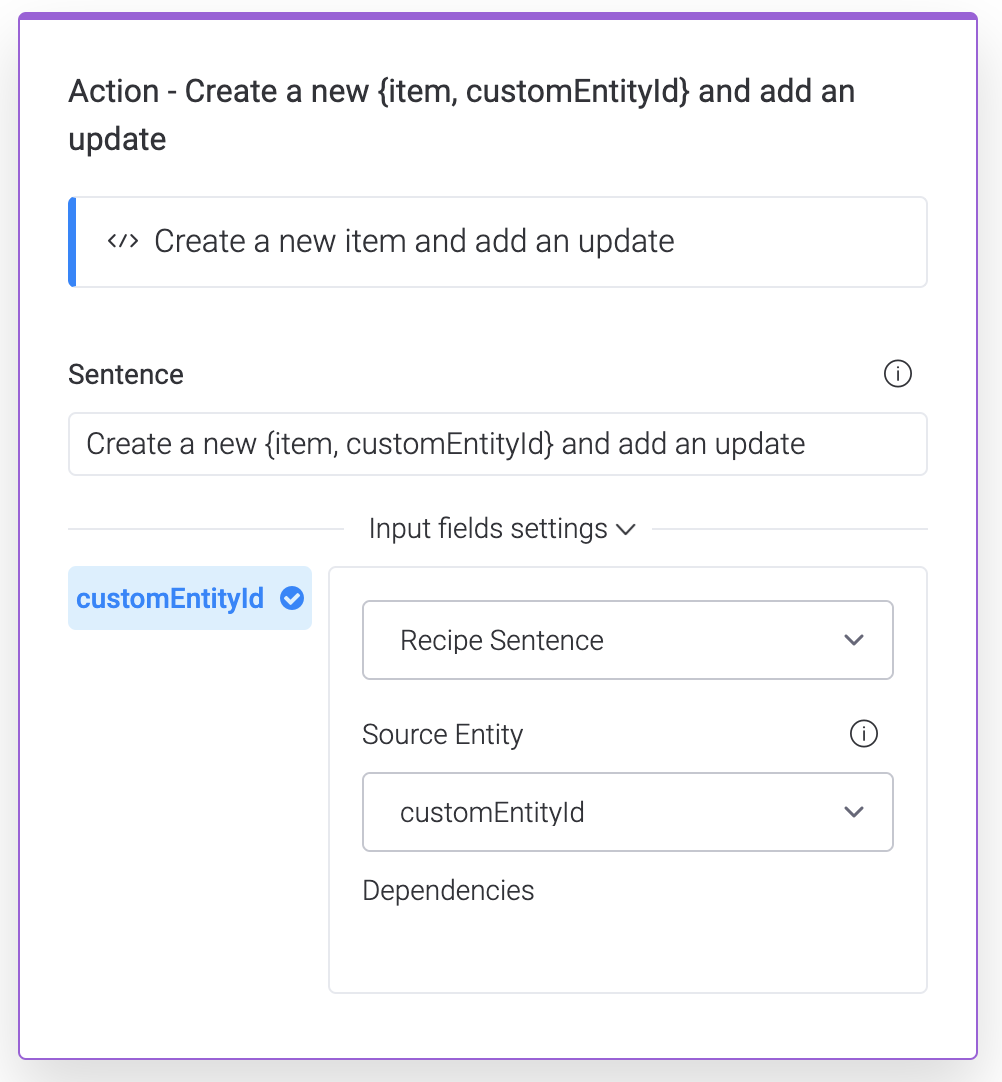
Next you need to create you action. This should accept the CustomEntityField mapping as an input field. Again, you can include other information like board_id if you need some context. Generally a board_id is ideal so you know where to create the item.
I will come back to how this action is processed later.
Once you have your trigger and action, you can create the recipe. It should take both your custom trigger and your action that you have created.
You still need to allow the user to map which columns are updated with the different dynamic fields. You should select the source entity as your customEntityId which is passed through from your Custom Trigger.
Now, this is the hard bit. Up to this point the monday.com article is pretty easy for you to follow. It explains how you get/store the subscription URL to call your custom trigger, define dynamic fields, etc… The article uses the built in action for Item Mapping, we are going to build our own.
With the action that we have created, you will receive a payload that is something like this:
{
    "payload" : {
        "inboundFieldValues" : {
            "boardId" : 541329092,
            "customEntityId" : {
                "text" : "Hello world",
                "long_text" : "Hello, world?",
                "numbers" : 42
            }
        }
    }
}
Where customEntityId can simply be json_encoded and you can use this as your column_values. You will need to remove the item_name value from this array as it needs to be passed as a different variable in the create_item mutation. For reference, this is the mutation you will be calling.
mutation {
    create_item (board_id: BOARD_ID group_id: GROUP_ID (this can be collected from customEntityId as well), item_name: "new item", column_values: JSON_ENCODED columnValues) {
        id
    }
}
When you run this mutation yourself, you will receive back the new item_id.
You can then call:
mutation {
    create_update (item_id: ITEM_ID_FROM_CREATE_ITEM_MUTATION, body:UPDATE_BODY) {
        id
    }
}
Once you have called the create_update mutation, you will have a new item with the update as well